
PSSSST...I'm no longer blogging here!
You can now find me at
I got this supremely beautiful dresser from my friend Clara, and it's been languishing in my garage for a couple months. I just didn't know what I wanted to do with it, other than cover it in paint. BORRRRING.

I've been wanting to try dry brushing with a couple colors on raw wood that has lots of grain showing, and hot dang! Inspiration struck. So I finally hauled my rear out there, put it on an old duvet cover, removed the hardware and gave it some love. Here's the after:


Now prepare yourself for a dramatic play by play including video of how the deed was done.
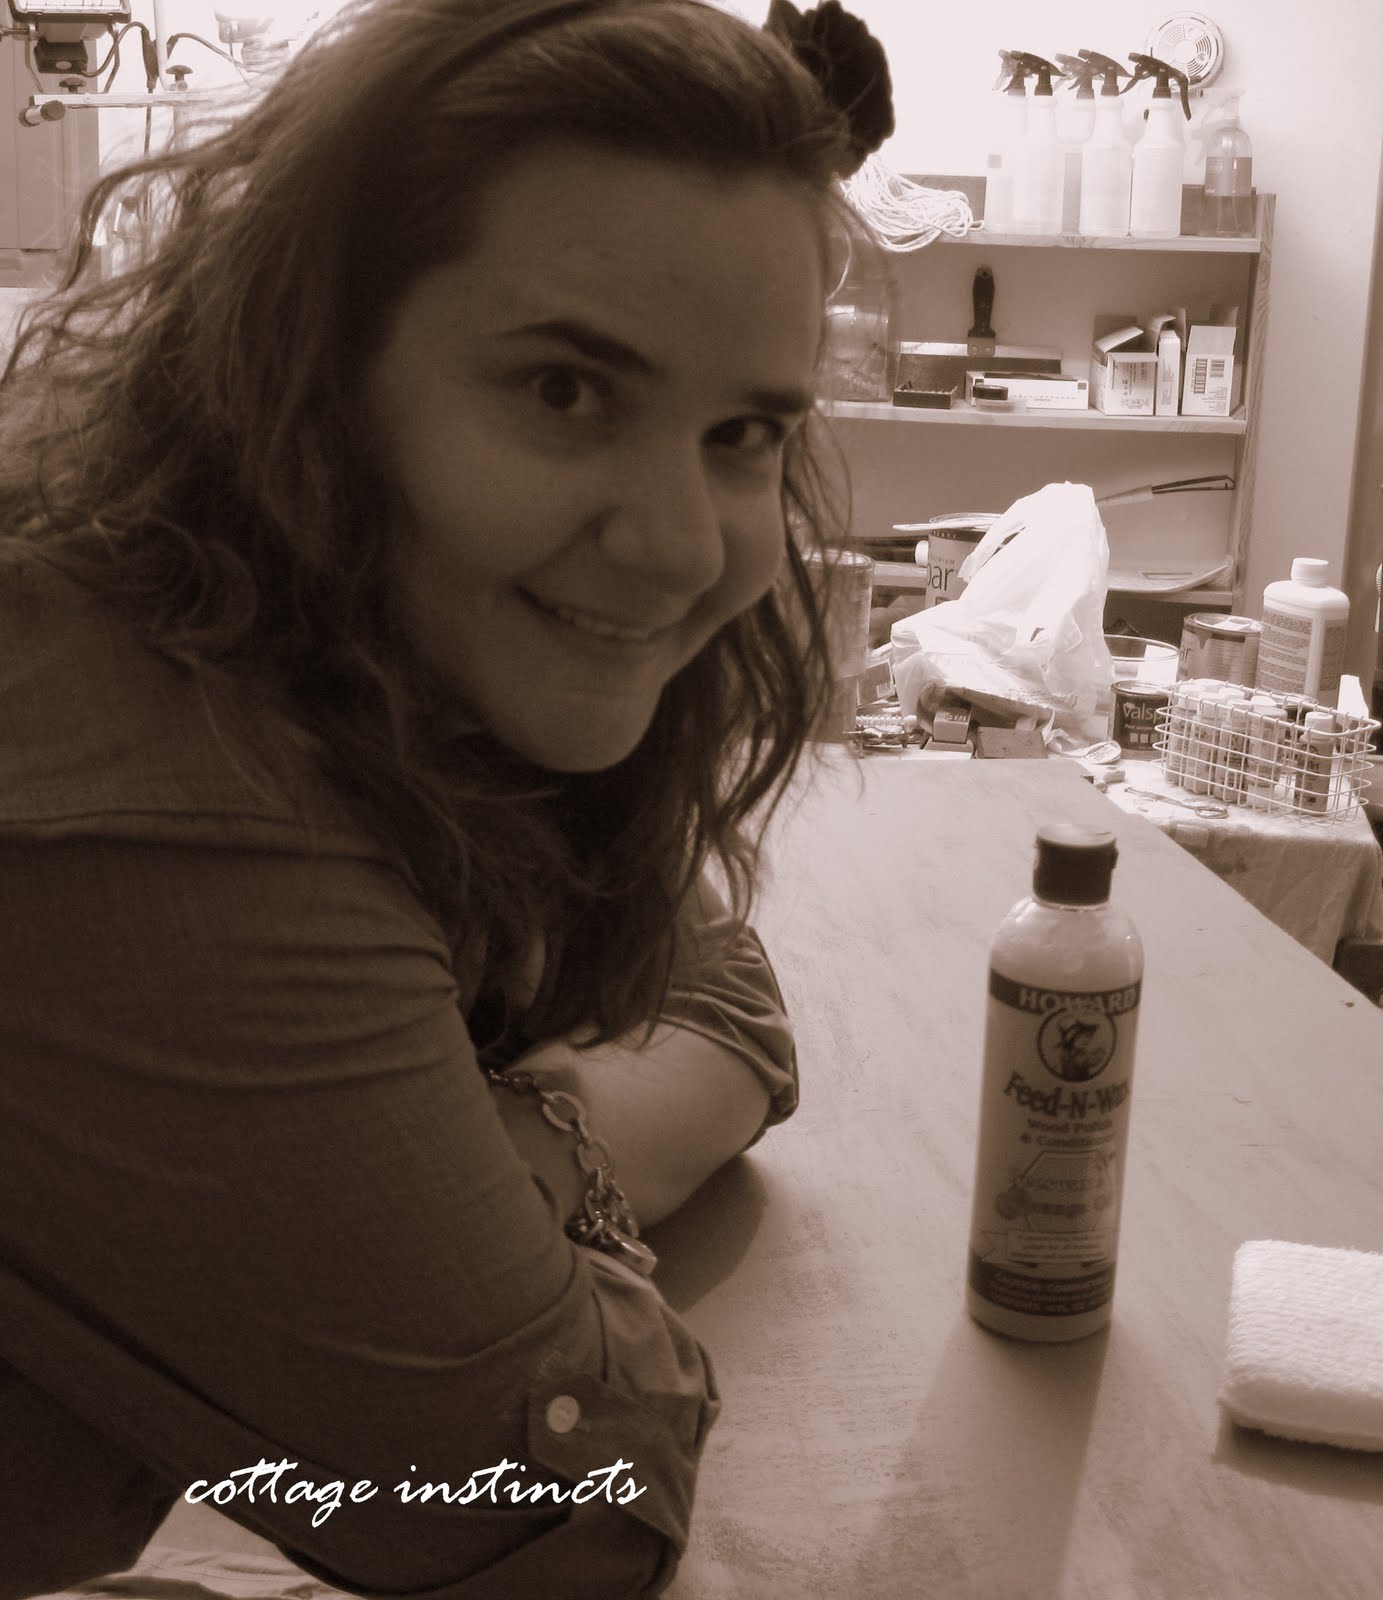
Because this piece didn't have any real finish left....it was almost nekkid, I just sanded it with a medium grit sanding sponge, wiped it off with dollar store baby wipes, then wiped it down really well with an old t-shirt using this:

Then went straight to my trusty mistints and pulled out some greens.

Now remember, I'm just kinda playing around. The only way to get over your fear of messing up is by simply jumping into a project....just be sure it's not your great gramma's dining hutch for your first try. It's also nice to use paint you got for free or almost free. Each time I paint a piece I learn something new....and usually by messing up. I'm to a point now where the mess-ups don't happen as frequently, and I can actually use some tricks of the trade.

But every piece evolves as you're working on it, and if you're taking the time to listen, it'll tell you what will work best. And it just might not be a glossy, factory finish....it might want the drunk person look. Be glad if that's what it tells you because it's a very forgiving process :) Dry brushing, mixing up cans of ooops paint, and distressing are the fancy names for getting the 'drunk person painted this' look. Just thought I'd clue you in there.

BTW, always save old smallish paint cans to store unused, homemade paint colors:

And finger paint the color on the lid so you feel like a professional at Home Depot without the orange hair dryer. It also helps to write where you used this color if you've mixed up say, four thousand teal/aqua/turquoise-y shades. Hadn't done that yet in the pic. Uh, still haven't.
So this dresser was whining about being just spray painted heirloom white, and was begging to be adorned in a worn, beachy cottage look. It needed to be touched with human hands, sanded and coaxed and stroked back to life. So I just pretended I was a drunk person and brushed that paint on. Watch me in action, and be
PART I
PART II
Shoulda done some serious editing, and maybe taken some speech classes in high school, but honestly, you're lucky I didn't show you the clip with my bat wings flapping whilst going back and forth over the top with my brush. I'm also not exactly sure why my skin is Ompa-Loompa orange.....Anyway, obviously, I don't usually go with a set-in-stone plan when I'm playing. There are times I do have a plan and follow it perfectly, but that's happened about ........ok, it's never happened.
Oh look, here's a random shot of what my guys were doing while I was DIY'ing...

Okay, well then. Homeschooling creativity at its finest, right there.
So that took all of a couple hours. I felt invested in it....more-so than when I spray paint a piece. I hand-mixed the colors. I fiddled with different sand papers. My hands touched every surface. I felt like I was in preschool again. This is playtime, girls. Seriously. I'm learning to be patient and to respect the pieces I work on. So far, that's serving me well. So well that I'm considering re-doing several of my sprayed pieces. Working on projects like this is very theraputic, cathartic, and makes you feel all ying-yangy. Except when you're faced with this:

And you realize you've done this:

And ya have to use some of this:

To fix this:

And in order to do that, you have to do thist:

And don't forget this:

Before getting to this:

Because you've visited every Menards/Home Depot/Lowes/Do It Best in the midwest and just decided to go with what 'cha had to begin with. *rolling eyes*

Heres' the steps for my Looks Like a Drunk Person Painted It Dry Brush Technique, as shown in the oscar-worthy videos:
~Lightly sand/wipe down (or strip old finish to get down to fairly raw wood) and use deglosser/cleaner.
~Dry brush one color in random patches smoothing out the paint with the grain, using both the flat and side surfaces of the brush.
~Dry brush a second color in the same manner.
~Feel free to repeat the last two steps till the piece screams it's had enough, goshdarnit.
~Use coarse sandpaper to distress edges
~Use medium grit to smooth everything down
~Wipe on and buff out a couple coats of paste wax or Howards Feed and Wax.

One nice thing about dry brushing is that it soaks into the wood and dries very quickly. It's about as close to instant gratification as you can get with a paint brush.
Here's a few more 'afters':

It seems to take on a really green cast in these pics, but it has more blue in person.
Hope you've gleaned some info or was at least entertained by my tutorial on painting like a drunk person. Let me know if you have any other questions. I'm working on doing other tutes like this too, because I just know how much my readers enjoy my mad filming skillz.

Here's lookin' at you, kid.
I'll be visiting these parties this week. I'll bring the Little Debbies.
Metamorphosis Monday @ BNOTP
Show Off Your Cottage Monday @ The House in the Roses
Anything Related @ All Things Related
Making the World Cuter
Mad Skills @ Mad in Crafts
Motivate Me Monday @ Keeping it Simple
The DIY Show Off
Debbiedoos B and A Party
Twice Owned Tuesday @ House of Grace
Tutorial Tuesday @ Hope Studios
Power of Paint Party @Domestically Speaking
Piece of Work Wednesday @ Primitive and Proper
Transformation Thursday @ The Shabby Chic Cottage
Time Travel Thursday @ Brambleberry Cottage
Thrilling Thursday @ Paisley Passions
Furniture Feature Friday @ Mustard Seed Creations
Fresh Coat Fridays @ Life in the Fun Lane
Show and Tell Friday @ My Romantic Home
Show and Share Day @ Just a Girl
Frugal Friday @ The Shabby Nest
Remodelaholic Friday Linky
Simply Designing Link Party
Favorite Things Friday @ A Few of My Favorite Things
Vintage Inspiration Friday @ Common Ground
Saturday Nite Special @ Funky Junk Interiors
Style Feature Saturday @ Perfectly Imperfect
Show and Tell Saturdays @ be different, act normal.
The Gorilla Glue Party Event @ DIY Club, inc. (tried to add the button but just got a broken link...)
Weekend Wrapup Party @ tatertots and jello
Sunday Showcase Party @ Under the Table and Dreaming
Traci's Best DIY Projects of September


141 comments:
oh my my! I have become obsessed with painted furniture, mostly greens and turquoise! Love the detail on the dresser. Thanks for letting me look. I am visiting from Naps on the porch even though you posted way before me, your picture caught my eye! LOVE!
Karen
Good thing you listened to that nekkid dresser and got all drunk and did some painting! It looks fabulous.
Beautiful job! LOVE the color.
You have email.
Your Friend,
Deborah
I have a piece of furniture just sitting in my dining room waiting for me to get to it.. this post of your dresser gave me the inspiration.. my side table is raw wood with a sage green stain pealing off.. so easy to do this to... thank you so much!
Nice
Sandy
It looks great! I always have to down a glass of wine before painting something so old:) I get nervous!
livvyloowho.blogspot.com
Sooo very b-e-a-u-t-i-f-u-l! Wow! I've been desperately looking for a piece as lovely as that so I can do just the same! ;) Yours turned out wonderful! and thanks for posting the instructions... I'm copying it for later reference. Thanks much! And thanks for participating in "Show Off Your Cottage Monday" and bringing me here!
Cielo
Girl, that is FAB-U-LUST!! I want it! It's on wheels so just put a note on it and send it down the interstate. It'll get here eventually and a little more wear and weather will only make it better.
Your boys are great. I love random odd behavior.
Gorgeous! I can't believe something this lovely was languishing in your garage :)
LOVE your dresser! Thanks for the tutorials~I realized what I've been doing wrong when I've been dry brushing some pieces. I'm not doing chunky enough spots, and I'm not going far enough with any of it! I think I've gone to far but NO~not far enough. Ha! I can do this now!
Thank you!
I love that wax stuff~I use it on my counter tops.
Dang, that looks purdy! I loved the videos too. Can I have another diet coke? Maybe I will try this with my black table but with creams and whites dry brushed on and let the black peak through. If it looks hideous I can always just paint it again right? How did you like the wax stuff?
great tute Cindy! Beautiful job on the dresser!
I love the colors. The video helps a lot. I appreciate you taking the time to show us this!
gail
Ummm....maybe you should be teaching me! It looks AMAZING! I love it! LOVE!
Nice work. I'm going to drink a diet coke.
I love Feed and Wax, don't you?!
It looks perfect! I am currently in the midst of painting my tv cabinet a similar green... do I have to get drunk so it will look as spectacular as your piece?!!!;)
Yay for you! It looks GREAT!
It's beautiful! I love the technique. That's my kind of technique. I enjoy just jumping in and seeing what happens.
Can I scream LOVE IT from the rooftops any louder?!?! Fab makeover Cindy!! Thanks for the tutorial also....very helpful!!
Polly
Oh wow girl! You made that sweet baby sing! I love the colors and the technique that you used.
Great tutorial. I get in such a hurry when I'm painting that I sometimes skip some steps, but always, always regret it later.
You did a wonderful job.
hugs
Sissie
Looks Like a Drunk Person Painted It Dry Brush Technique
Haha! Love it!
And love the results!
What a fun project! It looks great!
It's gorgeous, great job !
you are so funny! the dresser id gorgeous, but i am seriously thinking i now need ahair dryer in my workspace so i can feel like a pro. and maybe a bright orange apron. ;)
btw, thanks for your comments on my china cabinet. milkweed stain is by cabot brand, and i actually got it in a sample size at the habitat restore. not sure where to get it otherwise!
PER-FEC-TION...lovin' it!! -denise
What a gorgeous dresser! I am in love with the color! How cool that you created if from "ooops" paint! I just finished watching your video, and it was awesome! thanks for all of the great tips! Sounds like I would need to drink a few glasses of Pinot Grigio before beginning my project :)
You really did a nice job with this...and the color is just fabulous. I love how you created your own custom color...
What a fantabulous tutorial!
Oh my, how I love you for posting this, just in time for my furniture painting extravaganza coming up! :-)
The end result is spectacular, good job!
Oh, thank you, thank you, thank you! I have two "nekkid" dressers right now and I know exactly what color to do them...you are so inspiring to me, a most inexperienced painter. I CAN'T WAIT to try it! I want to make a drunk man proud...and I SHALL!
XOXO
Joni
LOVE your blog! I posted your button and link on my blog list!
Super cool! The mixture of colors are beautiful. There IS something so therapeutic about painting and mixing colors.
Love it! This is truly a great piece! I must say, it did my heart good to see a little paint on your fingers. My hubby always complains that I end up with as much paint on me as I do on my project. I can't understand how someone can paint and not get a spot on them! You did an amazing job, thanks for sharing the how too!
You did a great job on this piece. It's a beautiful distressed color. And, that pillow in that chair next to it is just great.
Looking good...your color looks outstanding...thanks so much for the info!!!
Blessings,
Linda
Nice job!
I love the color you ended up with.
Cindy
You still rock it girlie. You are so stinkin fummy!!! I loved it and how it turned out. Have an awesome week my friend.
love
Kate
Have I told you that this is beautiful yet? This is the second time I'm reading this post today. That is exactly what I want my kitchen table to look like. This is going into my Tumblr file!
I just love this dresser...it's a beauty!!!!
Great dresser, but I enjoyed your humor just as much! I'm a new follower. Linda
Love it! Love both the paint color and the technique :D
I just love this! Thank you~
I looks really pretty, thanks for the tips! So I have one question- can you still use wax on a semi gloss surface or is it better to use a flatter paint if you want to use the wax? I'm planning to do a similar piece I just can't decide which paint to get.
Oh, and I would find a place for the dresser, it's just too cute to get rid of!
This is beautiful and you did a wonderful job. I watched 2nd video over and over to find out what you waxed it with and I can't hear you clearly - was it bedin wax? Well done!!
wow ~ you are amazing. It looks so awesome! You are a genius. I have 3 dressers in the garage in need of somethin' like this. Maybe I'll give it a try :)
xo,
shellagh
Great job! I really do love green. May be inspiration for my next piece!
Thanks :)
Oh gosh, its gorgeous and you did such an amazing job, such talent and inspiration!
Oh gosh, its gorgeous and you did such an amazing job, such talent and inspiration!
I've got a console table thatneeds doing.I'll just ship it right over, shall I? ;-)
That's G.O.R.G.E.O.U.S!
You made it look so easy and fun! Love the color combo...it is very unique. Looks awesome. Thanks for linking up to my party, I sure appreciate it. Debbie
That turned out great! I love seeing how you did it and the end result is inspiring!
Linda
Here from Primitive & Proper's link party. This turned out great! I love the color. Looks like all of your hard work paid off!
My daughter said flabby arms (like mine) are called Bingo Arms 'cause the grannies' arms are flapping when the call BINGO. :-)
~ The Speckled Dog
I came over from Primitive & Proper. Your piece looks fabulous! I really love how you got the colors to work together. I haven't watched the video yet, but that is next :) Thanks!
So gorgeous! I can't wait to furnish a real apartment! (well, I can wait on spending the money...) I want to DIY the crap out of everything! Great tute!
Stopping by from Mad Skills Monday @ Mad in Crafts!
BEAU-TI-FUL!!! And guess what...I paint like you do! A little of this and a little of that! Seriously, you did an amazing job! Congratulations on a beautiful piece!
I love your paint job on that dresser, super cute. I always plan on getting a "color"... but then always grab the white! lol
every thing here is beautiful..thanks for sharing it
web design
mlm
This dresser is so darn cute! I LOVE it! great job.
I love the video and all the great tips! I'll bet you will have no trouble finding a home for this beautiful piece :)
I love how your dresser came out! What a great piece, and an awesome looking technique. It's going on my list of "must-try". I'm visiting from Primitive & Proper!
That looks amazing!
That looks amazing!
The color choice is AMAZING! Love it:)
Awesome!! and love the Drunk comment...I, too, like to paint like I am drunk!
http://221vision.com/?p=394
I absolutely love the color combo of the black and just the right turquoise. You balance it well and the turquoise is so hard to get right, but when it is, IT IS!
Beautiful!!! Stunning! I love it! you did a great job of transforming it.
Blessings,
Sandra
That looks SO good! And I love the color. I think I might need a dresser like that.
Cheers!
Rita
Oh my gosh, this turned out so nice! I've got to go back through this to read every little detail...I love how you mix that paint...it evolves as you go.
I saw this link at Transformation Thursday. I'm thinking I've just visited you too for White Wednesday..LOL I can't keep up.
Have a great day,
Stephanie ♥
VERY PRETTY AND RUSTIC AND YUM!!!
Looks like something right out of a boutique!
Love the color!! It's super cute and super fun and super amazing all rolled into one! Great job on taking the plunge and just going with it.
Painting really is all about personal style and technique...and trial and error!
Yours turned out amazing!
I just love the color of green you picked-it turned out great!
Absolutely BEAUTIFUL!!!
~Lori @ Paisley Passions
Join my Linky Party Thrilling Thursdays
♥ LOVE ♥
Now to find the courage to try this myself! :)
Amazing...hope to find some crafty in me.
Thank you, thank you, thank you.
I LOVED that you posted an "overly detailed" video. Most bloggers just write what they did because they think it wasn't much to it. Since I haven't re-done a big piece yet, but have big plans once we are able to move out of our apartment, I need to SEE how they did it.
By the way, I'm Becky, nice to meet you! found you from Shabby Chic Cottage transformation Thursday.
This is absolute perfection! Thanks for sharing! :]
I really, really like that color combination. What a great oops paint.
Love the dresser. Love the finish. And you are a riot. Great post.
O my goodness! I love love love the dresser, and I'm chomping at the bit to go and try that on some piece of furniture.Now I have an excuse to go thrifting again. LOL
Really enjoyed hanging out with you. I'm a new follower. Stop by my blog anytime..
Beautiful color! nice job that turned out way cute!
You did a beautiful job, thanks for sharing, I watched your videos too! I think I might try that technique today!! BTW I am your newest follower, I found you on Transformation Thursday, the color caught my eye.
Loved watching you do this process...I have several pieces I have been reluctant to paint! This is exactly the look I wanted but didn't know how to get it...NOW I can do it!!! I don't drink but maybe I can aquire the "Drunk Man" technique from watching your video!
Thanks for sharing,
deb
Ohmygoodness, I can not thank you enough for linking this everywhere! In a few weeks, I'll be undertaking a similar project and having a How-To guide like this will make it so much easier!
ooooohhhhh...I just love it!! Thank you, thank you for the video! I want to try this real soon!!
Fabulous Dresser! I love that color, you did a great job at mixing your own custom color. I love the tip about keeping extra custom paint for touch ups later on.
I hope you can stop by this Sunday to my Show Off Sunday Party. I would love for you to share your project with my followers. :)
http://houseofthriftydecor.blogspot.com/
Wow Cindy, this is incredible! Your tutorial video was excellent, loved the casual way you did it and I enjoyed our Little Debbie and diet Coke!!! The dresser is just gorgeous and I love your technique, thanks so much for linking into VIF! LOVE IT!!!
xo,
Debra
OMG....LOVE the tutorial and the post. The chest came out great! i WISH I were your neighbor....we'd have fun together in the garage. I've been snagging up mis-tints for a while now and since the weather is finally turning manageable (Under 95 degrees--LOL) I might end up in the garage soon and posting about my stuff too! :)
I love it! Painting like a drunk person. I'm all up into the shabbying stuff but I always wondered how to get the, there have been 12 different coats of paint put on this piece and now it's worn off and they all come through. I just remodeled my cottage and finally getting to the fun bits like re inventing old pieces to fit in. Thanks for the tutorial - I love your blog.
This really turned out beautiful! Great job!!
Awesome! Thanks for taking the time to show how you did it. If I lived near you and had the money I would have bought it. Anyway, I have a small old drop leaf table and some chairs that I'd like to paint that way. Keep up the great work! Sue aka Melancholy Specter
Holy crap!!! You may have just solved my kitchen island how-the-heck-to-paint-without-covering-the-entire-kitchen-in-plastic dilemma! The old dry brush technique!!!! Brilliant, especially since the thing currently has a maple finish which I need to transform to MS Timothy Hay green which makes the rub-through technique perfection! Now, if you could just direct your attention to this sucky economy....
Ellen
Beautiful! And a fabulous tutorial. So, how did the wax turn out? What is the benefit of wax vs. polyurethane?
Just did an antiquing post, but love your drunken dry brush technique.
Brittany
http://www.prettyhandygirl.com
Beautiful! The color (online) reminds me of an old skinny chest of drawers I have in my kitchen.
: )
Julie M.
You are hilarious! This is an awesome project. I just redid a hutch myself but my post is not as fun of a read as yours. :)
You are so funny and this dresser turned out crazy! I love it!!
love your guts
mandi
You are seriously funny...or is that funny, seriously! Well, you know what I mean. I love the color combo and the sort of extreme amount of wood tone left showing. I used a similar technique ( as if drunk painters have techniques)recently but your project makes me want to go back and add a lot more of the second color. I'm inspired. Lindy
Oh, and one more thing -- I'm your new follower. (I really thought I already was!)
It is so beautiful!
Beautiful! Thanks for all the advice.
I think that piece is fantastic! Thanks for the tutorial.
you know I love this piece!
thanks for linking up!
gail
What a marvelous post, I've featured you on Crft Gossip today :) http://homeandgarden.craftgossip.com/how-to-distress-a-dresser/
I love your makeover! It looks great!
Really cute! I want one... :)
I'm featuring you in our Spotlight Sunday today!
Lindsay@ThatVillageHouse
Absolutely GORGEOUS!
what a beautiful chest of drawers, i would love to see it and run my hands over that vintage wood, very beautiful and graceful cabinet unit
a beautiful piece of furniture, where did you get it from, good furniture esp good vintage furinture is very hard to come by!!
Great job! I am going to feature it tonight.
Bonnie :)
I like the dresser but I would left it alone the natural color.
I LOVE LOVE LOVE the after! Thanks SO much for joining in on Thrilling Thursdays @ Paisley Passions. I hope to see you again this week :)
~Lori S.
Thrilling Thursdays @Paisley Passions
Girl, this is perfect!! Love the depth of color and sanding!! Thank you for linking up last week!! -shaunna :)
This has cottage written all over it. Love your choice of color and technique! Refreshing to see color other than white or cream. Fantastic!
It looks fabulous, Cindy! I love the color you came up with using your mistints and sale paints. What did we do before mistints anyway?
We had a forlorn little Victorian table just "languishing" here at the cottage, and after a bit of repair work, we used an aqua mistint to give her a bit of TLC. She would have been the perfect playmate for your dresser. LOL
You can take a peek at her here:
http://thebrambleberrycottage.blogspot.com/2010/03/aqua-therapy.html
Thanks for linking to my party. I would love to have you join me each week.
Liz @ the Brambleberry Cottage
http://thebrambleberrycottage.blogspot.com/
This looks AMAZING!! I'm in love! Nice job!
I'm now your latest follower!
This looks AMAZING!! I'm in love! Nice job!
I'm now your latest follower!
Cindy,
It's so gorgeous!!! It looks exactly like a drunk person painted it! And I mean that in the nicest way possible. :)
You have the gift, girl!
Thanks for coming to my par-tay.
:)
I love the change! And the post - LOL.
I love how it turned out. I like your video tutorial too.
Michelle
from Trash to Treasure Decorating
You are one of the lucky winners from the Gorilla Glue contest. Please e-mail me your address:
cheri.peoples@live.com
Our monthly DIY contest is up and since you have never entered this into a monthly contest you can enter it. The prize package is $1,500 this month.
Cheri
This is such a cool technique. I'm always scared when facing a project with a paintbrush...I think to myself "I could RUIN this piece if I'm not careful and clean"....but you've inspired me! I've been in search for a dresser. once I find one, I think this is what I'll do with it! Thank you! here's my blog! I'll make sure to link back to your video when my dressers' in the making!
http://lifeyasadiywifey.blogspot.com/
This is awesome. I love the green color.
Thanks for linking up. We look forward to getting seeing more and more of your projects ovr at the DIY Club.
Cheri
You've created a great patina! Thanks for linking up to the DIY Project Party monthly contest! :)
Amy
You really saved this dresser...what a beautiful job you did!
I think it's safe to say as commenter #122...it's gorgeous! Thanks for sharing your technique! Great color. LOVE it!
Roeshel
I need to send the Gorilla Glue winners in to Gorilla Glue again and I have already deleted the addresses. Can you re-send it
Cheri.peoples@live.com
Cheri
I need lessons
ljvjr
I love this piece. You did an awesome job. I've featured it as one of the inspiration pieces for my soon-to-be guest bedroom. I hope you don't mind that I used one of your pictures. I've given you credit and posted links to this page and your blog.
http://thejunkhouse.blogspot.com/2011/02/guest-bedroom-inspiration.html
I'm also a new follower. I've been creeping around for a while, but just recently started following.
This is just what I was looking for thank you! I love it!!
Cindy-I love this gorgeous color! I'd sure like to have this piece- wish I were close by- it would have a home with me. Good luck finding it a new family to go live with. :-)
This piece is beautiful! Thanks for your creativity to try and your time to post. Great work!!!
I was just seeking this information for a while. After 6 hours of continuous Googleing, at last I got it in your website. I wonder what is the lack of Google strategy that do not rank this type of informative sites in top of the list. Generally the top sites are full of garbage.
Adams Golf Idea Tech V3 Hybrid Golf Club
Do you put varnish on the finished product?
The best instructions ever! I am so happy to have found this..Bedroom furniture..Get ready to be transformed.
Kitchens Kent
It's so beautiful!!! It looks exactly like a intoxicated individual coloured it! And I mean that in the grateful way possible. :)
Holy Moly...this turned out amazing. I know this is an old post, but I just found your through Pinterest from this post. I love your blog. Thanks for the great tutorial!
I googled "how to paint a dresser" and got you! You are witty and entertaining, as well as informative!
Thank you, you helped a lot.
I googled "how to paint a dresser" and got you! You are witty and entertaining, as well as informative!
Thank you, you helped a lot.
If you find yourself in need of a storage space for your kids' clothing or toys, you wouldn't want something that's fancy and may be passed on through generations as an heirloom. Use less expensive wood on this type of dresser so that you may get quality without hurting your purse.
Plans For Dresser Building
I just love your makeover! It looks great! good going
MLM Software
Just wanted to say that while searching for a good diy chalk paint/distressed tutorial I came upon yours. I laughed and learned! What fun you must be. Thank you for the smiles and the good info. I want a little less worn look, but from your video got some good pointers. New to the blogging world, but yours sure was fun and informative. Keep them coming! Regards,
Bran
I got this supremely beautiful dresser from my friend Clara, and it's been ... itallwhite.blogspot.com
I believe the content matter here is rattling magnificent. I genuinely enjoyed reading this article. Thank you! office cubicles for sale
Thanks for your article.....Best MLM Software designing company in India. Visit This
MLM Software
It's a very interesting and helpful information. Thank you for sharing.
regards,
paint spray gun
Post a Comment