9.12.2016

Hello Friends!

Just popping in with some exciting NEWS
and some pretty pics :)
I am now regularly blogging on my new site

Same gal, same decor shenanigans,
new site!
I hope you'll head over and join me there!


6.20.2015

::Going Mirrorless::


PSSSST...I'm no longer blogging here!
You can now find me at
-----------------------------------------------------------------------------------------------------------------


Ready for some happy photography bits?  Your wish is my command :)


In January, I sold my Canon Rebel T3i.  I wasn't blogging anymore, and my iPhone 6 seemed fine for quick snapshots.  My big girl camera just sat gathering dust.

Then came our family trip in February to Disney, and I was uber disappointed in our photos....11 iPhones and nary a decent capture of Robyn meeting the princesses, of Walter hugging Tigger, or of the food (always the food). I kinda missed that 'ole Canon, but I knew I prolly wouldn't have wanted to drag it around the parks either.

(taken from hubs' iPhone 6.  Even editing didn't help much, even though Robyn is adorbs)

As I began to consider firing up the blog again, I knew I'd need a new camera, but DREADED another big, bulky, pricey DSLR.  I looked into some top-of-the-line point and shoots, but I really wanted that artistic control you get in a manual setting...fiddling with aperture and shutterspeeds and ISOs and lenses....(don't I sound like I know what I'm talking about?)

Unbeknownst to me, there was a new player on the photography field, and tons of professional shooters are switching over.  That was enough for me to go check 'em out....but there weren't many to check out locally.  In fact I had to hit the only camera shop in town to get my hands on the specific model I was interested in trying. Curious what the heckola I'm talking about?

Bam.

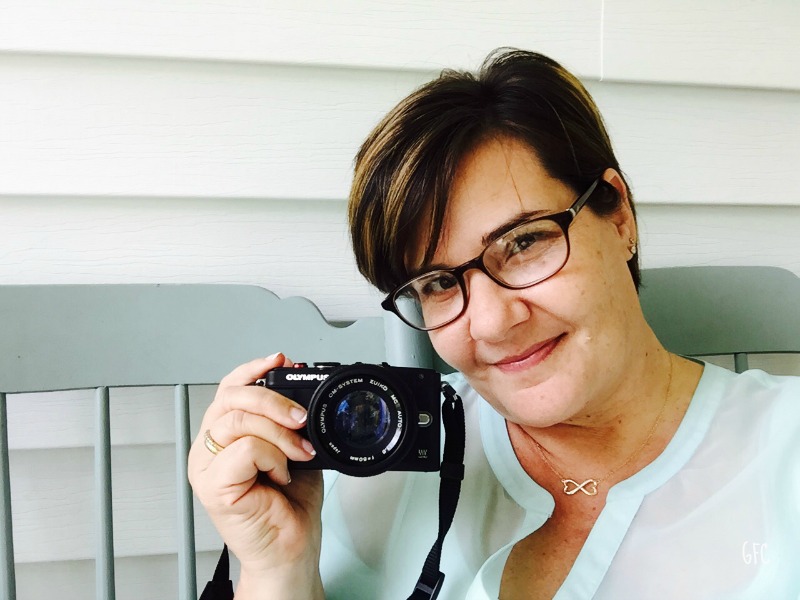
Meet my new bestie.  A Micro Four Thirds camera.  No mirror in this baby (hence my title of going 'mirrorless', although I'm seriously considering going mirrorless in my house too...*rolling eyes*). Lightweight and tiny, it fits in your hand AND purse....as in, it's the same size as a point and shoot without a lens attached.  See how small it is with out it?


Don't ask me about how it captures the same quality as a DSLR, but it does.  Do a search on youtube and you'll be set for the afternoon. Pour yourself a drink.

Here's the best part.  $300 new.  With a really nice kit lens.  NEW.


After reading about all the brands, I went with the Olympus EPL6 (Penlite).  BTW, Nikon and Canon are slow-comers to the Micro Four Thirds scene due to the popularity of their DSLRs, but many say Micro Four Thirds are the wave of the future and they're missing the boat BIG TIME. Hence their offerings in this segment lag WAY behind the leaders.


You can see in the picture above, it has all the same kind of settings as your standard DSLR, and mine comes with a dandy touch screen you can use to control settings as well as actually shooting.  It tilts out and up and down and I love that I can move it perpendicular to the camera and look down at the screen instead of actually getting on my hands and knees to snap a pic of my cute dog. I hold the camera at his level, and just look down into the screen to frame my shot.


(my thumb is blocking the menu dial and such....)

Ok, here's my favorite part.  Everyone knows the camera body is the least costly part, right?  Well, I learned you can purchase adapters and use old lens from the film days with them....and they'll cost you a SONG.


I bought an adapter and an old 50mm prime lens made for a film camera for less than $45 (ebay, folks).  WHAT?  I know.  Very fun possibilities just opened up for you, right?  Here's the deal, though.  You'll be doing your shots in manual....as in you manually twist the dials on the lens to the proper aperture AND manually focus (see pic below).  Because it's not electronically connected to the camera, you lose those two settings. Shutterspeed and ISO are controlled on the camera body as usual.


 Also, a 50mm lens on a Micro Four Thirds is the rough equivalent to a 25mm lens... so there are some differences in using older lenses.  Be prepared for a bit of a learning curve to using these older lenses. I should also mention that a 'real' Olympus 25mm lens for this camera runs about 500 smackaroos....that's why I looked into adapters and such.  If anyone is interested I can post my favorite youtube tutes that chat about all this stuff :)
I'm still learning how it all works, and re-learning how to use the settings best.  I'm still shooting mostly in auto when dealing with the grandies, so I thought I'd show you some pics I took with it in that auto mode with the kit lens.....with minimal tweaks in picmonkey :)

I give you WALTER WYN--15 months of AWESOME:


And ROBYN ROSE--3 years of making my world go 'round:


So have I convinced you yet to ditch that bulky DSLR?  Or at least go have a look-see at these marvelous little Micro Four Thirds?
Ready for svelte and reasonably priced without giving up the quality?
I know I'll never look back!
As I use it more, I'll post other tips and tricks I'm learning. 


okaybye,
cindy


4.17.2014

::Fireplace Before and After::


PSSSST...I'm no longer blogging here!
You can now find me at

------------------------------------------------------------------

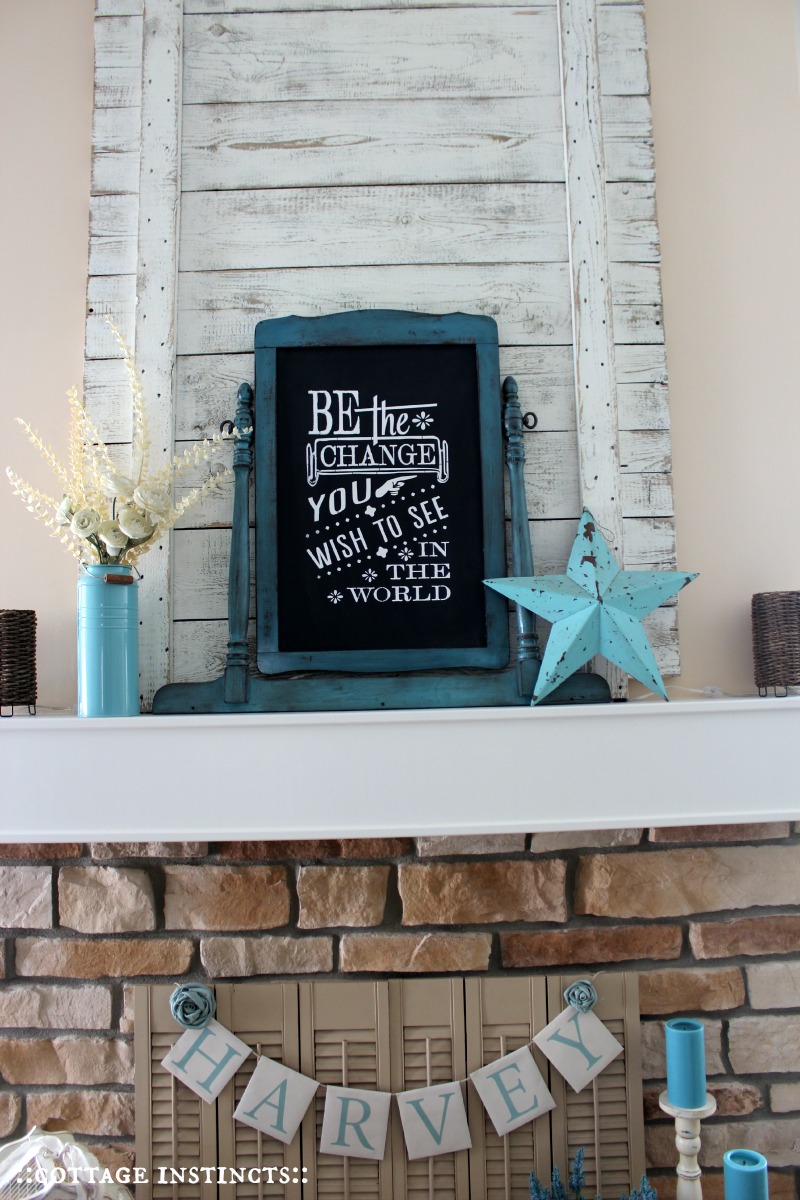
Well, y'all know I have a thing about fireplaces and mantels, yeah?
Here's the before....


I'd been itching to work on the new house's fireplace/mantel since moving in.  
I had some wishy-washy ideas that began to solidify when a dear friend gave me this piece of scrap pallet wood...


At which point I started obsessing about paint colors.
When we were deciding on finishes, it was cost-prohibitive to carry the stone all the way up to the peak....so I always intended to do some sort of 'treatment' to blend the drywalled part with the stone.


I started by finding a swatch of colors from Sherwin Williams that blended well with the colors on my stone...which happen to have both pink and yellow undertones....which I happened to learn thru this process don't really play nicely with eachother.  It took me no less than 10 samples to get the right shade....
This shows one of the first oopsies at the top.
I won't show you the 8 other shades of 'bandaid' I tried.....


The one that made the room sing ended up being Interactive Cream.
BAM.


I painted the pallet piece with left over wall paint (Glidden's Antique White), and heavily distressed it with my palm sander.  Hubs used  4 ginormous screws to attach it to the wall.


Sewed up some wispy panels with poor-man's linen....osnaburg muslin.
20 yards at $3/yd using my 50% off coupon at JoAnns.  


They're not hemmed yet, and I think I'm gonna do some bishop sleeves.
Instead of fiddling with a DIY corner rod, I just used those good old fashioned metal rods that cost like $3 each.  No finials or anything.  Lowe's had 'em in oil rubbed bronze.
Score. 


See how nicely they meet in the corner?
Total cost for dressing my three super large windows...$75.
They really helped pull the room together, bringing the fireplace to the center.


I had originally thought I'd plank the drywall above the stone, but when serendipity strikes, you grab it!
The cast-off pallet wood works perfectly.


Love the rustic texture....as I was sanding, it brought out the yellow undertones in the white paint....hard to see, but trust me, it looks awesome.


My great room is finally coming together....it's not a large room, but with the massive windows and vaulted ceiling, everything felt a bit lost.  Adding some color and texture has helped it feel warm and welcoming.  


I'll share some other things I did in the room next post.  Of course it's not done yet (as if it ever gets 'done').  I hope to add planking and beams to the ceiling eventually, and I'm considering painting the white walls a neutral called 'Biscuit', which happens to be the lightest shade on that strip from Sherwin Williams. I'm hording lighting ideas, including some sconces or lanterns for either side of the rustic wood board.  The small rattan uplights from Target up there currently look awesome turned on at night, but look dinky during the day. And I have some more sewing to do to tie in the green chairs to the scheme.

Happy for now :)  


 I'm almost done with the master re-do as well.  I'll be showing off the new paint color, sewing projects, headboard building, and decor soon!

So what do ya think?  Improvement?
Think I'm nutso for putting a huge piece of scrap wood on my mantel?


3.20.2014

::Beginnings::

Walter Wyn joined our family last night at 9:57.
My first grandson, 2nd grandchild.
Robyn Rose's baby brother.


He was delivered at (my) home, right on Gramma's bed. :) 


Then the midwife weighed him all wrapped up in a towel....
7lb. 11oz., 21in. long.
Of sheer Goodness. 


                                                Robyn has learned to say 'Baby Wawwt'. (Baby Walt)


My daughter Kristen was a goddess thru it all.
So proud of her.


We're all in babymoon.  
Life is very, very wonderful.


2.17.2014

::Goodwill Caddy Do-Over::

Greetings from the frozen tundra of NE Indiana.....
After a glorious week in Florida with perfect weather, coming home to this slop has been quite a splash of ice water in the face.  Literally.  Ick.


Anyway, just before leaving, I played around with more of my products from Country Chic Paints.


Remember the desk I did using their shade called 'Elegance'?


Well, this time I decided layer some colors, distress and dark wax.  I picked up this unfinished wood caddy thingy at Goodwill a few weeks back, and got busy.


I used one coat of Burgundy first....just sorta slopped it on.  Slop and it's various versions are my word of the day.


It reminds me of a terra cotta color.  Reddish/brownish/orange-ish.  Perfect for an undercoat.


When that dried, I slopped on a coat of Elegance, distressed it with 180 grit sand paper to show the Burgundy beneath, waxed with their clear wax first, then lightly brushed on their dark wax here and there, immediately wiping it in and off with a rag.
The whole ding dang project took like 45 minutes of 'work'....the rest was just waiting for paint to dry. Great little project for a snowy afternoon.


I wanted to mention that I still don't feel confident using waxes, especially dark wax.  I'm still waffling on what products I'll use to finish projects.  There really is no substitute for the way a waxed piece looks and feels, but the cost and effort on large pieces still gives me hives.  I'll be trying a couple other paints that require no top coat in the next month, so stayed tuned for those.

As far as the actual chalk-style paints, though, Country Chic Paints are right up there in my top picks for ease, cost, color palette, and coverage.  Just beautiful paints.


2.07.2014

::Chalkboard Wall Valentine::


Ever since I looked at the floorplan and model for our new house, I knew I'd have me a chalkboard wall.


Even though everyone on Pinterest has one.....I still feel like they're awesomesauce.


Mine just happens to be right at the bottom of my stairs in the dining room/kitchen, so I can leave squishy love notes for my boys.


Here's the wall before:


I'll be leaving for Florida soaking up as much Vitamin D as possible before returning to the frozen tundra of NE Indiana.  I hope you spend your Valentine's Day with the ones you love.


(Quote is from Mumford and Sons "Sigh No More",  Love me some Mumford!)


LinkWithin

Related Posts with Thumbnails